ProPresenter and Onyx Integration
This guide was created to document the process to integrate ProPresenter and Obsidian Onyx via MIDI.
In our configuration, we are running ProPresenter v17 on a Windows 11 machine, and Onyx on a separate Windows 11 PC connected to each other via the ethernet network.
There are three main components to make this work:
- rtpMIDI
- MIDI Macro Mapping Inside Onyx
- MIDI Configuration Inside ProPresenter
Updated Documentation
Here’s some updated documentation on the process, as we recently expanded this workflow to have individualized cue lists in Onyx that stack together, fired from within ProPresenter as a macro that fires other macros that then fires the midi notes. A little confusing, but makes it easy to customize the looks from within ProPresenter.
rtpMIDI
We use a program called rtpMIDI to link control of lighting from ProPresenter to Onyx. It is best to set to start automatically with Windows for both the ProPresenter PC and Onyx Lighting Console.
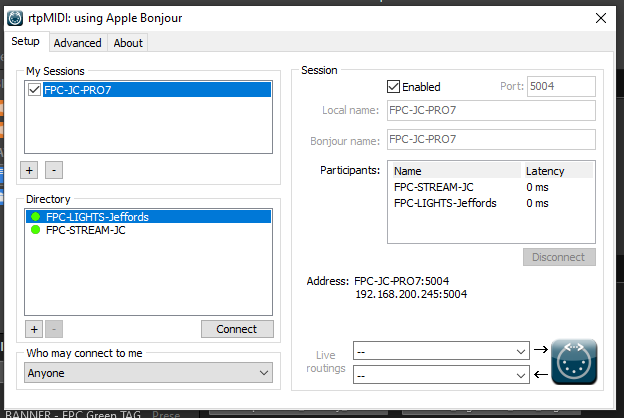
Midi Macro Mapping Inside Onyx
To Program a MIDI Macro, first we need to program a Cue List inside Onyx. Once a Cue List has been built, we can then select the cue list from the primary control page inside Onyx.
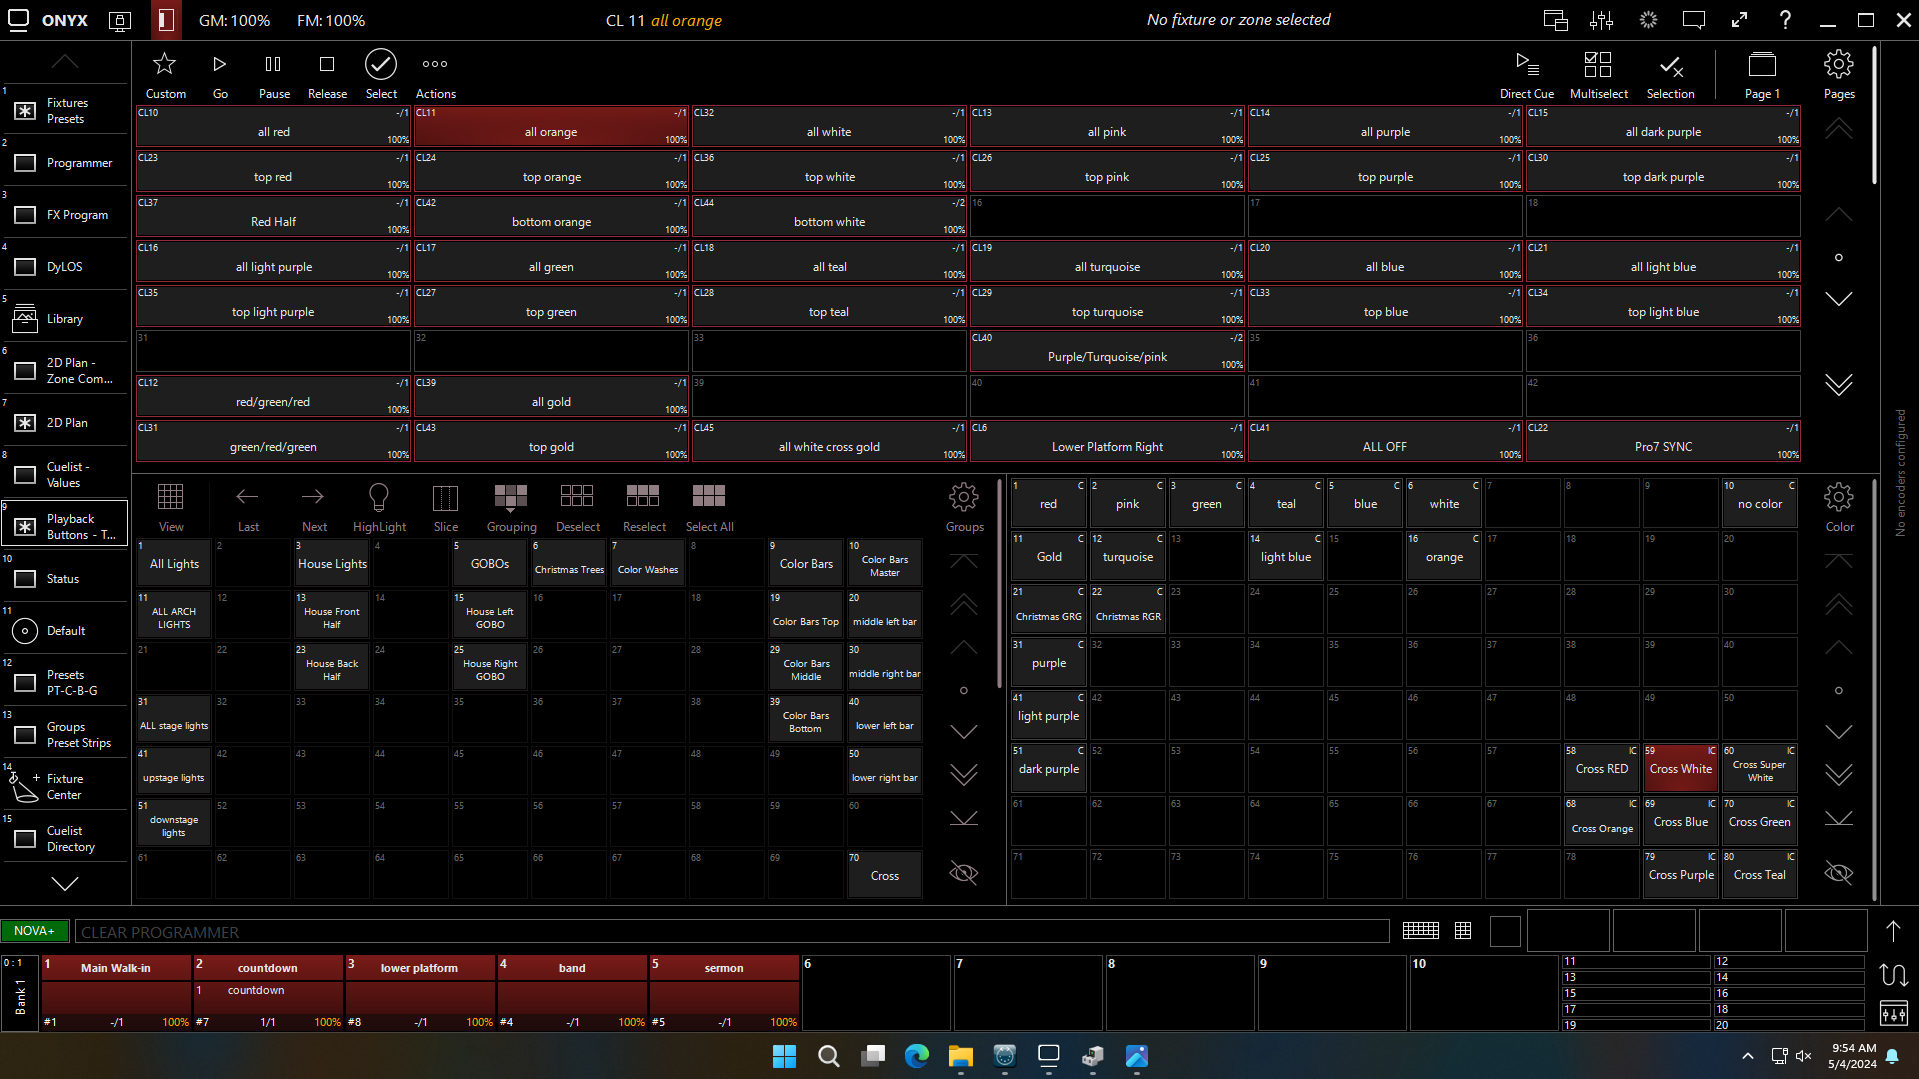
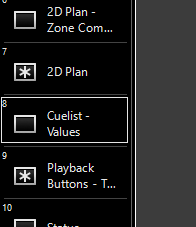
Navigate to the CueList Values tab.
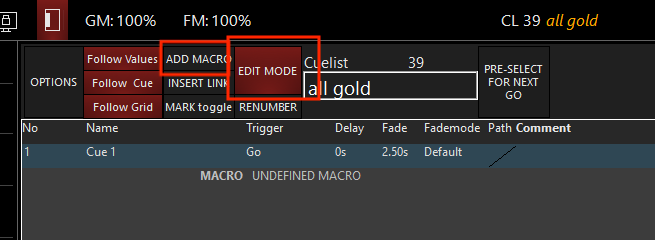
From here, select “Edit Mode” and then “Add Macro”
Select the Macro
- In the First Box, select “MIDIMACRO”
- In the Second Box, select what cue list you want to fire with the macro.
- In the Third Box, select “Go”
- In the MIDI-In Event Viewer you would select “Note-On”, “Channel 1”, Data1 is the MIDI note as determined from the MIDI Lookup Table, and the Data2 is the Intensity, typically 127 for our use case.
- Select Apply.
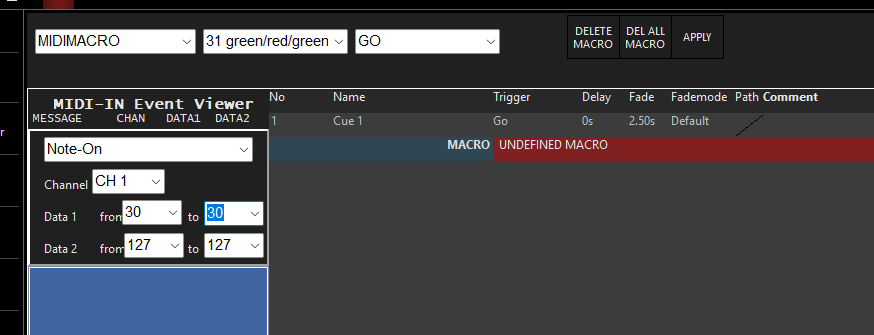
Exit “Edit Mode” by selecting the “Edit Mode” button again.
MIDI Configuration inside ProPresenter
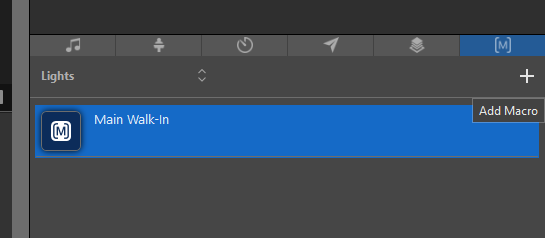
To assign a MIDI Note to particular element, we first create a new Macro under the “Lights” folder in the Macro List:
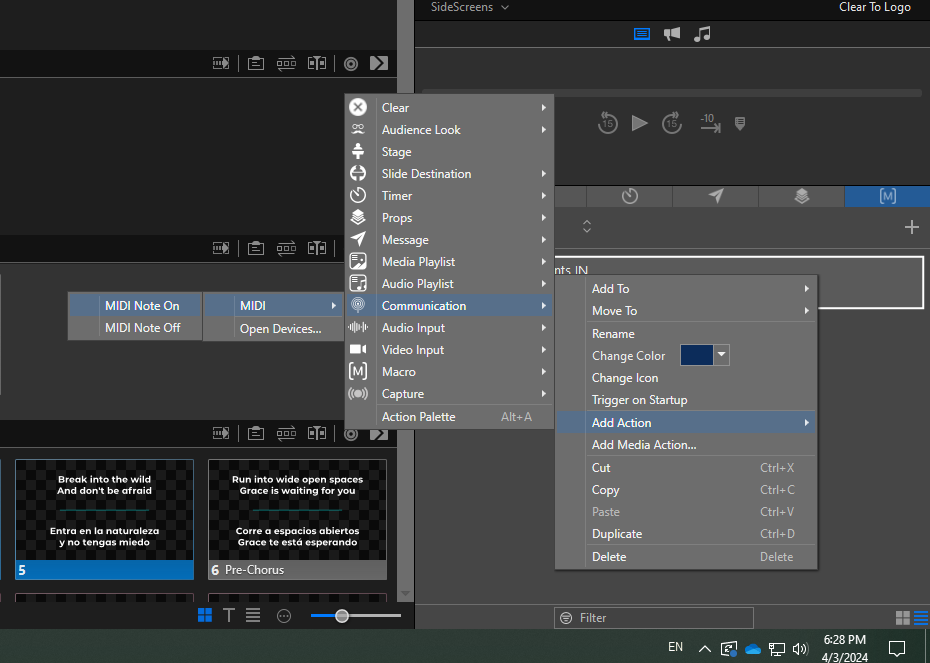
We then add both a MIDI ON note and a MIDI OFF note to the macro: This can be done via right clicking > Add Action > Communication > MIDI > MIDI Note On / Off
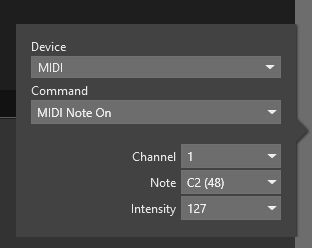
Would recommend building out an excel spreadsheet of the various MIDI mappings to make sure that you know what goes to what. Ours looks like this:
| Cue List | MIDI Channel | MIDI Note | MIDI Intensity | ProPresenter Function |
|---|---|---|---|---|
| 1 | 1 | C2 (48) | 127 | Announcements / Main Walk-in |
| 7 | 1 | C-2 (0) | 127 | Countdown |